This guide is a 'how to setup' our Android USB-C Game Controller, it was originally in Chinese but I have translated it and added notes where required. While the screenshots are in Chinese the app will display in English, you will be able to follow it through and it's fairly straight forward.
This guide aims to briefly introduce the key steps for getting started with the Android USB-C Game Controller, it should help most users to get started quickly. For power users see our advanced guide which helps with FPS style games such as PUBG.

(1) Install the Assistant APP
Head to the official website http://www.opd-display.com/app.html (Chinese) or Google Translated (see note) and download the handy assistant app to install it. You want the latest version for the N1. It requires Android version 8.0 and above. Prompt permission during installation, please make sure to accept. *Please note* The Google Translated breaks the Java required to download, use it to read the latest info but to download click the link on the Chinese page. If you are reading this on a PC you can also scan the QR Code with your phone to save typing the web address in :)

(2) Connect the handle to the mobile phone
Please read this section carefully to avoid scratches and other damage to the surface of the mobile phone charging port by the wrong operation method.
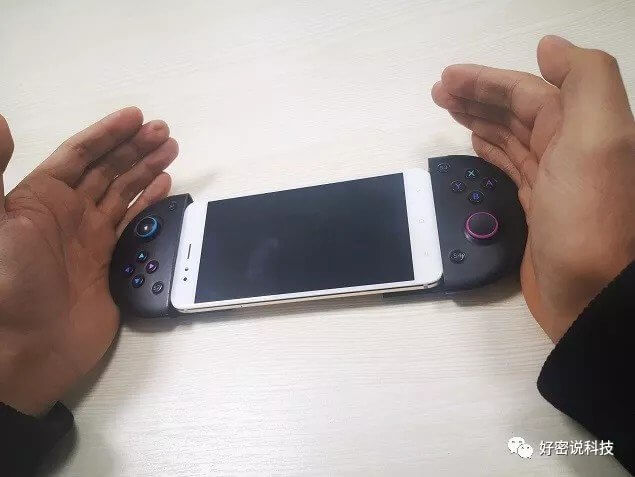
2.1 The charging port of the mobile phone and the charging port of the handle are placed horizontally relative to each other.

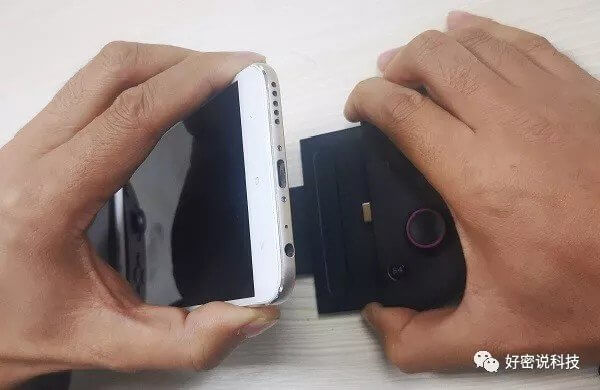
2.2 The charging port of the mobile phone is aligned with the type-c interface of the handle. Because the mobile phone is not horizontal yet, the two interfaces also have angles, so don’t push hard, just connect a little, so that it can be quickly aligned later.

2.3 Pull the handle to the left and lay the phone flat .

2.3 Press firmly with both hands .

At this point, the installation and connection of the handle and the mobile phone are completed. The light on the side of the handle will light up green. When it is used for the first time, a USB permission prompt will pop up on the phone, select the default for this USB device, and click OK.

(3) Remove the handle
Reverse the steps of installing the handle, first disconnect the type-c interface, and then pick it up.


Pay special attention here not to tilt the head of the phone first, as this may damage the phone charging port.

(3) Game key adjustment
After connecting the handle, take a look at how to adjust the key position. Here, let's take a look at the correspondence between the buttons on the controller and the icons on the APP.

Enter the handy assistant app, click the plus sign on the homepage to increase the game key position.

Select the game to be added. Here, take Snake as an example, prompt to set the key position, and choose to set it.


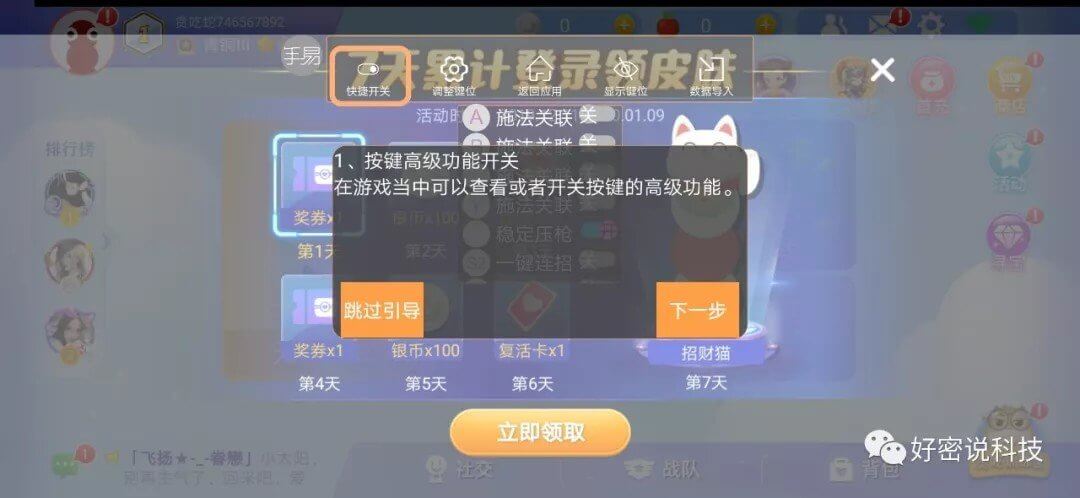
Enter the game interface, you can follow the interface guide to view the instructions, or you can skip.

Choose to skip here and return to the game. After entering the game, you can see that there are two control buttons in total, one left joystick and one right button. At this time, click on the floating hand logo, select the adjustment key position, drag the left joystick icon to the left joystick of the game, drag the R2 icon to the game acceleration button, save the key position, return to the game, and then adjust the key position When you are finished, you can use the gamepad to control the game. In addition, each time you enter the game, you need to click the snake icon from the APP to enter the game.


See our advanced guide which offer more detailed controls for certain games.


